Tmux (terminal multiplexer) is an essential tool for developers and system administrators who work
extensively in the terminal. This comprehensive guide covers everything from basic usage to advanced
configurations, helping you become a tmux power user.
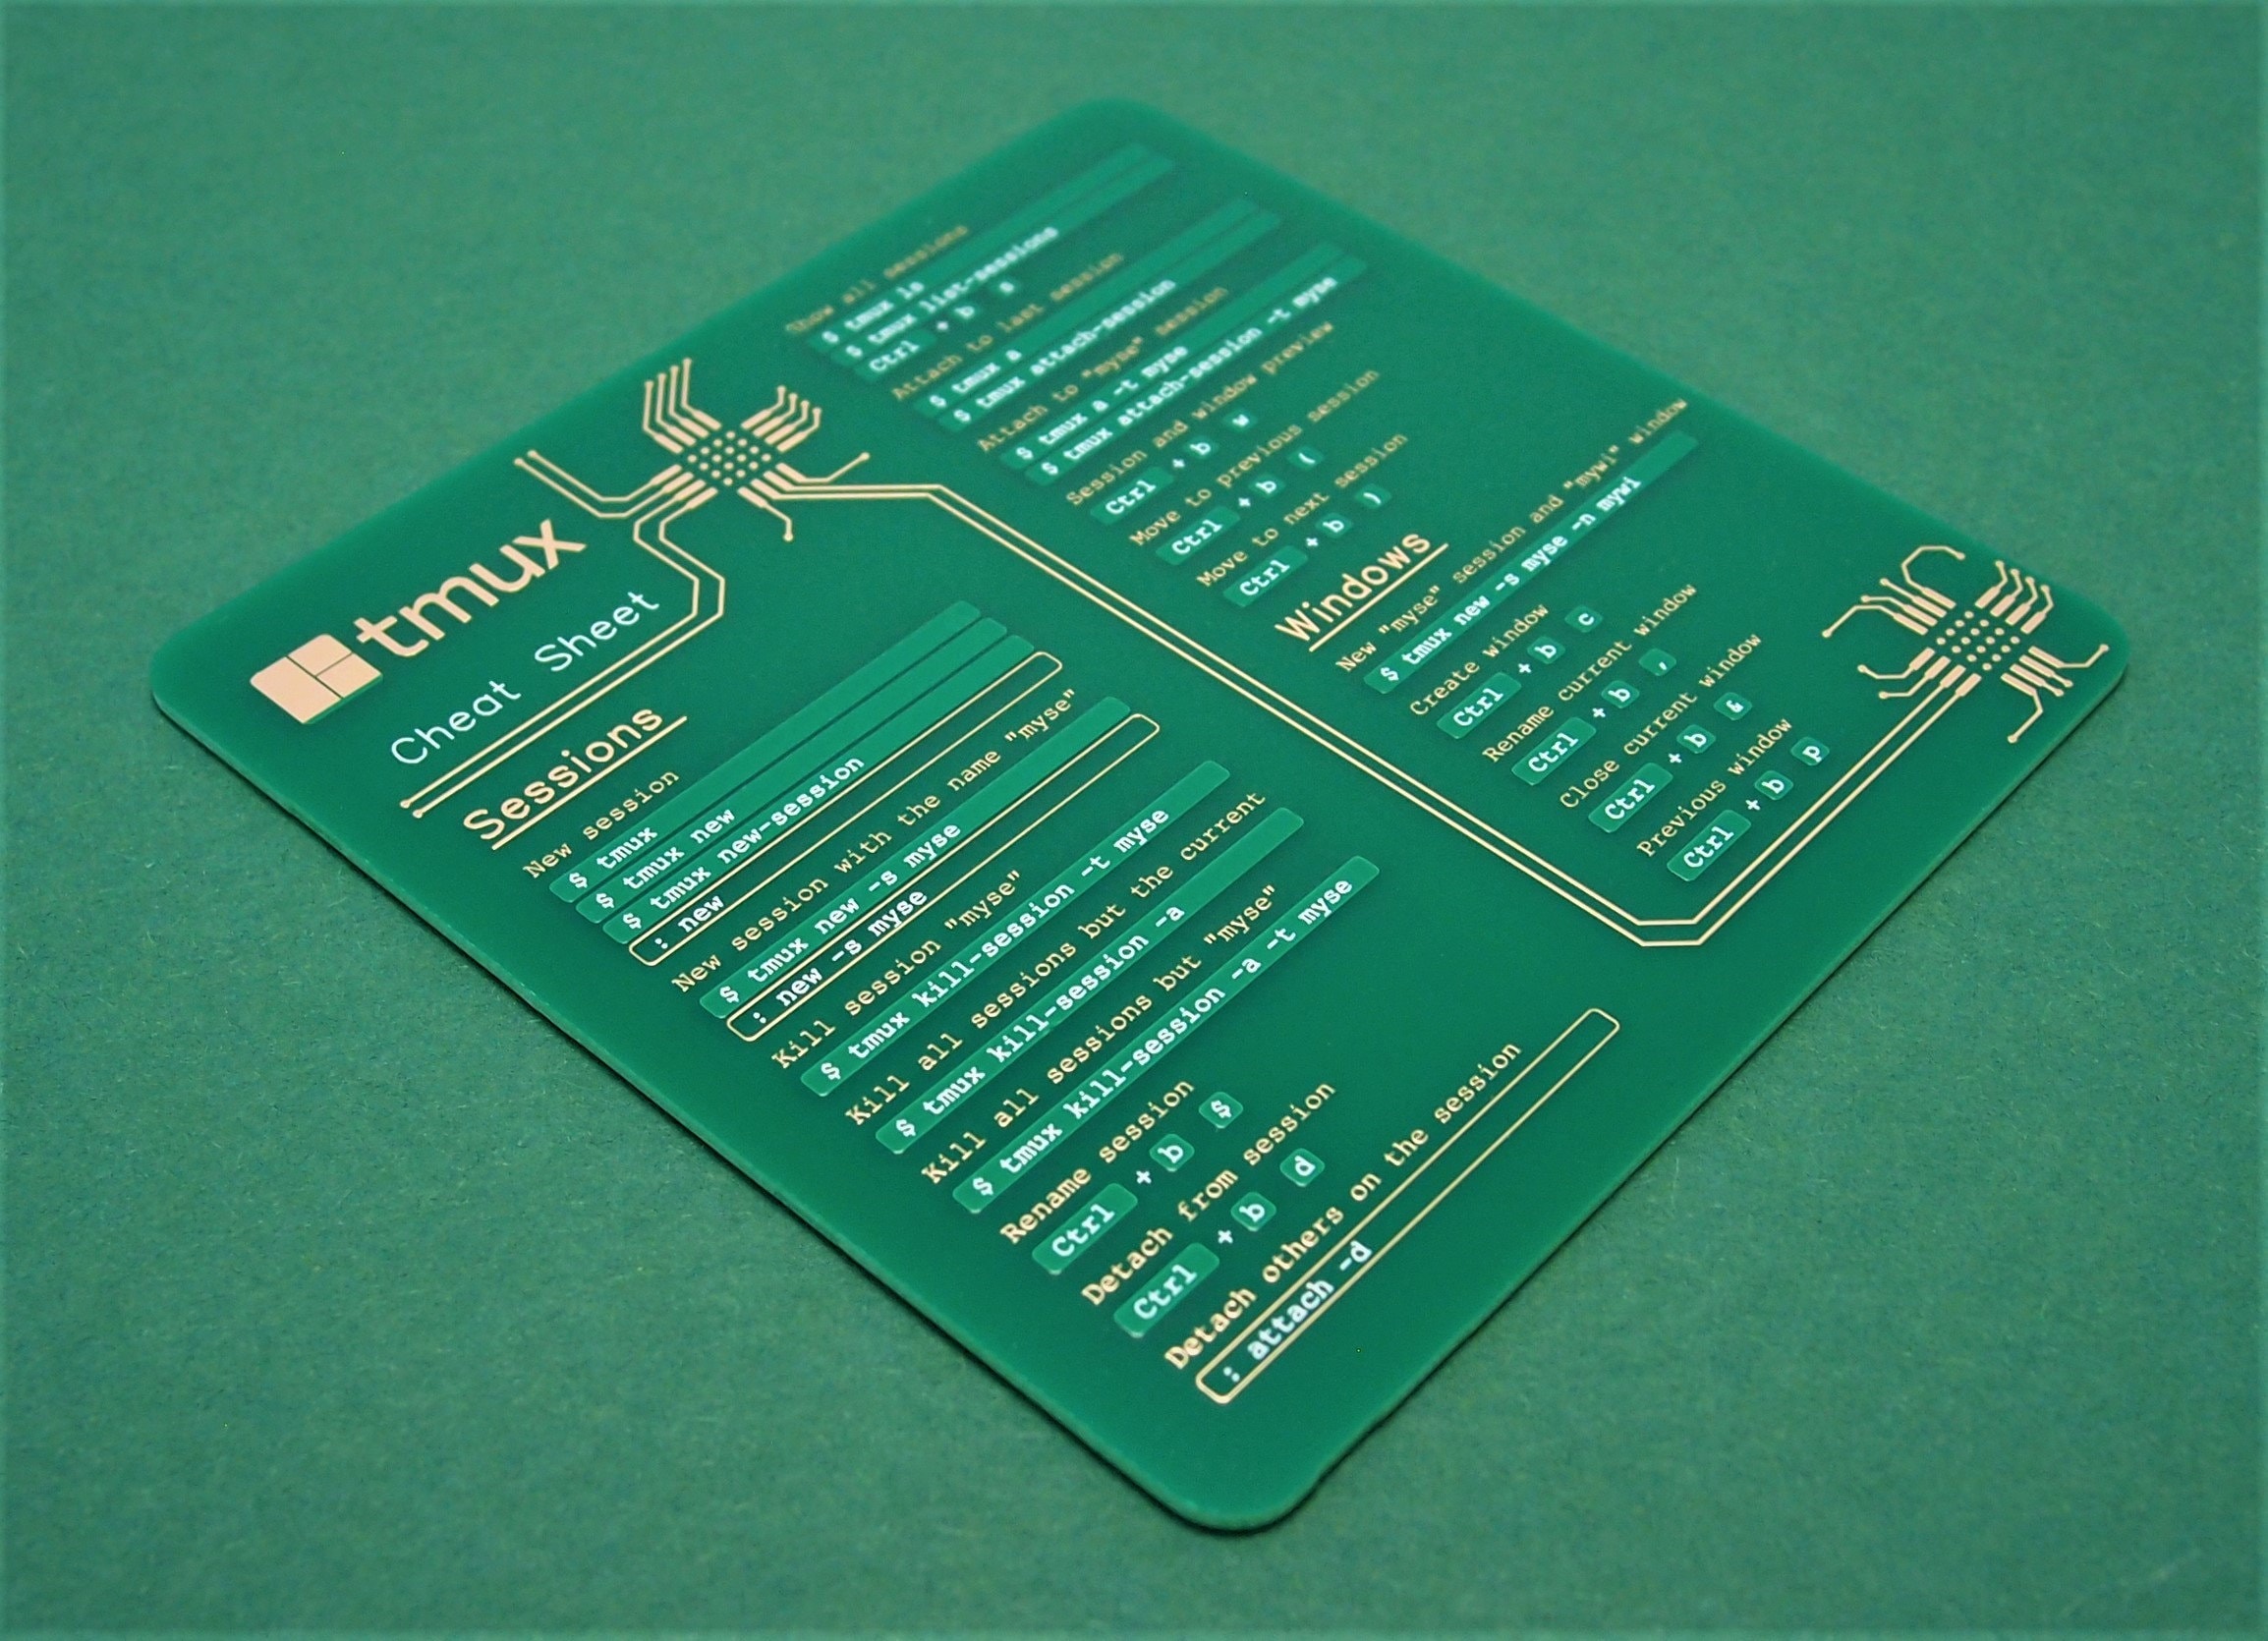
Master tmux to supercharge your terminal workflow
Why Use Tmux?
Before diving into commands, let’s understand why tmux is invaluable:
Session Persistence: Keep your work alive even when disconnected
Multiple Windows: Organize different projects in separate windows
Pane Management: Split your terminal for multitasking
Remote Work: Perfect for SSH sessions and server management
Scripting: Automate complex terminal setups
{: .notice–info} Pro Tip: Tmux is especially powerful when combined with tools like Vim, Git,
and various CLI utilities. It transforms your terminal into a complete development environment.
Installation
macOS
1
2
3
4
5
# Using Homebrew
brew install tmux
# Using MacPortssudo port install tmux
# Start a new session for a project
tmux new-session -d-s"my-project"-c ~/code/my-project
# Create multiple windows
tmux new-window -t"my-project"-n"editor"-c ~/code/my-project
tmux new-window -t"my-project"-n"server"-c ~/code/my-project
tmux new-window -t"my-project"-n"logs"-c ~/code/my-project
# Attach to the session
tmux attach-session -t"my-project"
The Prefix Key
The prefix key is your gateway to tmux commands. By default, it’s Ctrl+b, but many users prefer
Ctrl+a:
1
2
# Default prefix
Ctrl + b
{: .notice–warning} Important: All tmux keyboard shortcuts require pressing the prefix key
first, then the command key. For example, Ctrl+a c means press Ctrl+a, release, then press c.
Changing the Prefix Key
Add this to your ~/.tmux.conf:
1
2
3
4
5
6
7
8
# Unbind default prefix
unbind C-b
# Set new prefix to Ctrl+aset-g prefix C-a
# Ensure we can send Ctrl+a to applicationsbind C-a send-prefix
{: .notice–tip} Ergonomic Tip: Remap your Caps Lock key to Ctrl at the OS level. This makes
Ctrl+a much more comfortable to press repeatedly.
Session Control
Task
Keyboard Shortcut
Command Line
List all sessions
Ctrl+a s
tmux list-sessions
Detach from session
Ctrl+a d
tmux detach-client
Rename current session
Ctrl+a $
tmux rename-session <name>
Switch to last session
Ctrl+a L
tmux switch-client -l
Choose session tree
Ctrl+a w
Interactive session browser
Session Workflow Example
1
2
3
4
5
6
7
8
9
10
11
12
13
# Development workflow
tmux new -s dev -d
tmux send-keys -t dev 'cd ~/projects && vim .' Enter

# Create additional sessions for different contexts
tmux new -s monitoring -d
tmux send-keys -t monitoring 'htop' Enter

tmux new -s logs -d
tmux send-keys -t logs 'tail -f /var/log/system.log' Enter

# Switch between sessions quickly
tmux attach -t dev
Window Management
Windows in tmux are like tabs in a browser - each contains one or more panes.
Task
Keyboard Shortcut
Command Line
Create new window
Ctrl+a c
tmux new-window
Rename current window
Ctrl+a ,
tmux rename-window <name>
List all windows
Ctrl+a w
tmux list-windows
Close current window
Ctrl+a &
tmux kill-window
Switch to window by #
Ctrl+a 0-9
tmux select-window -t <num>
Switch to next window
Ctrl+a n
tmux next-window
Switch to previous
Ctrl+a p
tmux previous-window
Switch to last window
Ctrl+a l
tmux last-window
Move window
Ctrl+a .
tmux move-window -t <num>
Find window
Ctrl+a f
Search window names
Window Organization Tips
1
2
3
4
5
6
7
8
9
10
11
12
# Create a structured session with named windows
tmux new-session -d-s fullstack
tmux rename-window -t fullstack:0 'frontend'
tmux new-window -t fullstack -n'backend'
tmux new-window -t fullstack -n'database'
tmux new-window -t fullstack -n'docker'
tmux new-window -t fullstack -n'monitoring'# Set up each window with specific commands
tmux send-keys -t fullstack:frontend 'cd ~/app/frontend && npm run dev' Enter
tmux send-keys -t fullstack:backend 'cd ~/app/backend && npm start' Enter
tmux send-keys -t fullstack:database 'mysql -u root -p' Enter
Pane Management
Panes allow you to split your terminal window into multiple sections.
Basic Pane Operations
Task
Keyboard Shortcut
Command Line
Split horizontally
Ctrl+a "
tmux split-window -v
Split vertically
Ctrl+a %
tmux split-window -h
Navigate between panes
Ctrl+a o
tmux select-pane -t <dir>
Go to last active pane
Ctrl+a ;
tmux last-pane
Close current pane
Ctrl+a x
tmux kill-pane
Toggle pane zoom
Ctrl+a z
tmux resize-pane -Z
Show pane numbers
Ctrl+a q
Display pane indices
Break pane to window
Ctrl+a !
tmux break-pane
Join pane from window
Ctrl+a @
tmux join-pane -s <window>
Advanced Pane Navigation
Task
Keyboard Shortcut
Description
Move to pane left
Ctrl+a Left
Navigate with arrow keys
Move to pane right
Ctrl+a Right
Navigate with arrow keys
Move to pane up
Ctrl+a Up
Navigate with arrow keys
Move to pane down
Ctrl+a Down
Navigate with arrow keys
Resize pane left
Ctrl+a Ctrl+Left
Hold Ctrl for continuous
Resize pane right
Ctrl+a Ctrl+Right
Hold Ctrl for continuous
Swap pane up
Ctrl+a {
Move pane position
Swap pane down
Ctrl+a }
Move pane position
Pane Layout Presets
Task
Keyboard Shortcut
Description
Cycle through layouts
Ctrl+a Space
Auto-arrange panes
Even horizontal
Ctrl+a Alt+1
Equal width columns
Even vertical
Ctrl+a Alt+2
Equal height rows
Main horizontal
Ctrl+a Alt+3
Large top, small bottom
Main vertical
Ctrl+a Alt+4
Large left, small right
Tiled
Ctrl+a Alt+5
Grid arrangement
Copy Mode and Scrolling
Copy mode allows you to scroll through terminal history and copy text.
Entering Copy Mode
Task
Keyboard Shortcut
Description
Enter copy mode
Ctrl+a [
Start scrolling/copying
Exit copy mode
q or Escape
Return to normal mode
Paste copied text
Ctrl+a ]
Insert clipboard content
Vi-Style Copy Mode
Enable vi-style keys in your config:
1
2
3
4
5
6
7
8
# Enable vi mode
setw -g mode-keys vi
set-g status-keys vi
# Vi-style copy bindings
bind-key -T copy-mode-vi v send-keys -X begin-selection
bind-key -T copy-mode-vi y send-keys -X copy-selection-and-cancel
bind-key -T copy-mode-vi r send-keys -X rectangle-toggle
Copy Mode Navigation
Task
Vi Keys
Emacs Keys
Move cursor
h/j/k/l
Arrow keys
Start of line
0 or ^
Ctrl+a
End of line
$
Ctrl+e
Next word
w
Alt+f
Previous word
b
Alt+b
Page up
Ctrl+u
Page Up
Page down
Ctrl+d
Page Down
Go to top
g
Alt+<
Go to bottom
G
Alt+>
Search forward
/
Ctrl+s
Search backward
?
Ctrl+r
Next search result
n
Ctrl+s
Previous search result
N
Ctrl+r
Selection and Copying
Task
Vi Keys
Description
Start selection
Space or v
Begin text selection
Select line
V
Select entire line
Select rectangle
Ctrl+v
Column selection mode
Copy selection
Enter or y
Copy to tmux buffer
Cancel selection
Escape
Exit selection mode
Mouse Support
Modern tmux supports mouse interaction for easier navigation.
Enabling Mouse Mode
1
2
3
4
5
6
7
# Enable mouse supportset-g mouse on
# Optional: Configure mouse behaviorset-g mouse-select-pane on
set-g mouse-select-window on
set-g mouse-resize-pane on
Mouse Operations
Click: Switch between panes and windows
Scroll: Navigate through terminal history
Drag: Resize panes by dragging borders
Double-click: Select words
Triple-click: Select entire lines
Right-click: Context menu (if configured)
{: .notice–info} Note: Mouse mode can interfere with terminal applications that have their own
mouse support. Toggle it on/off as needed.
Buffer Management
Tmux maintains multiple copy buffers for managing copied text.
Task
Command
Description
List all buffers
tmux list-buffers
Show buffer contents
Show buffer content
tmux show-buffer -b <index>
Display specific buffer
Paste from buffer
tmux paste-buffer -b <index>
Insert buffer content
Delete buffer
tmux delete-buffer -b <index>
Remove buffer
Save buffer to file
tmux save-buffer -b 0 ~/buffer.txt
Export buffer to file
Load file to buffer
tmux load-buffer ~/file.txt
Import file as buffer
Working with Multiple Buffers
1
2
3
4
5
6
7
8
9
10
11
# Copy multiple selections in copy mode# Each copy creates a new buffer# View all buffers
tmux list-buffers
# Choose which buffer to paste
tmux choose-buffer
# Paste from specific buffer
tmux paste-buffer -b 2
# Reduce escape time for faster key responseset-sg escape-time 0
# Limit history size if experiencing slowdownsset-g history-limit 10000
# Disable automatic window renaming if not needed
setw -g automatic-rename off
# Reduce status bar update frequencyset-g status-interval 60
Command Reference
Most Used Commands
Command
Description
tmux new -s name
Create named session
tmux a -t name
Attach to session
tmux ls
List sessions
tmux kill-session -t name
Kill session
Ctrl+a d
Detach from session
Ctrl+a c
New window
Ctrl+a "
Split horizontal
Ctrl+a %
Split vertical
Ctrl+a z
Toggle zoom
Ctrl+a [
Copy mode
Less Common but Useful
Command
Description
tmux display-message
Show current session info
tmux list-keys
Show all key bindings
tmux info
Show server information
tmux capture-pane -p
Capture pane content
tmux respawn-pane
Restart dead pane
Conclusion
Tmux is an incredibly powerful tool that can transform your terminal workflow. Start with the basics
and gradually incorporate more advanced features as you become comfortable. The key to mastering
tmux is consistent practice and customization to fit your specific needs.
Remember to:
Start with a simple configuration and expand gradually
Create automation scripts for common workflows
Use plugins to enhance functionality
Practice keyboard shortcuts until they become muscle memory
Customize your setup based on your daily tasks
{: .notice–success} Next Steps: Try creating your own tmux session script for your current
project. Start with basic window and pane setup, then add more automation as you become comfortable
with the workflow.
Create a folder to store your dotfiles.
I recommend to creating this directory in the root of your home folder so that it’s easier to use tools like GNU Stow:
What are dotfiles.
Your personal, crafted configuration!
Text-based configuration files for the programs you use
Personal scripts
Called “dotfiles” be...


Leave a comment
Your email address will not be published. Required fields are marked *